It was 5:30 PM on a Tuesday. The doorbell rang. My in-laws, beaming, stood on the porch, having decided to “just pop by” on their way through town. Panic set in. Dinner was a simple soup, but what it desperately needed was a warm, crusty loaf of bread to make it feel like a real meal. My sourdough starter was asleep in the fridge. Yeast was out of the question. I had less than an hour.
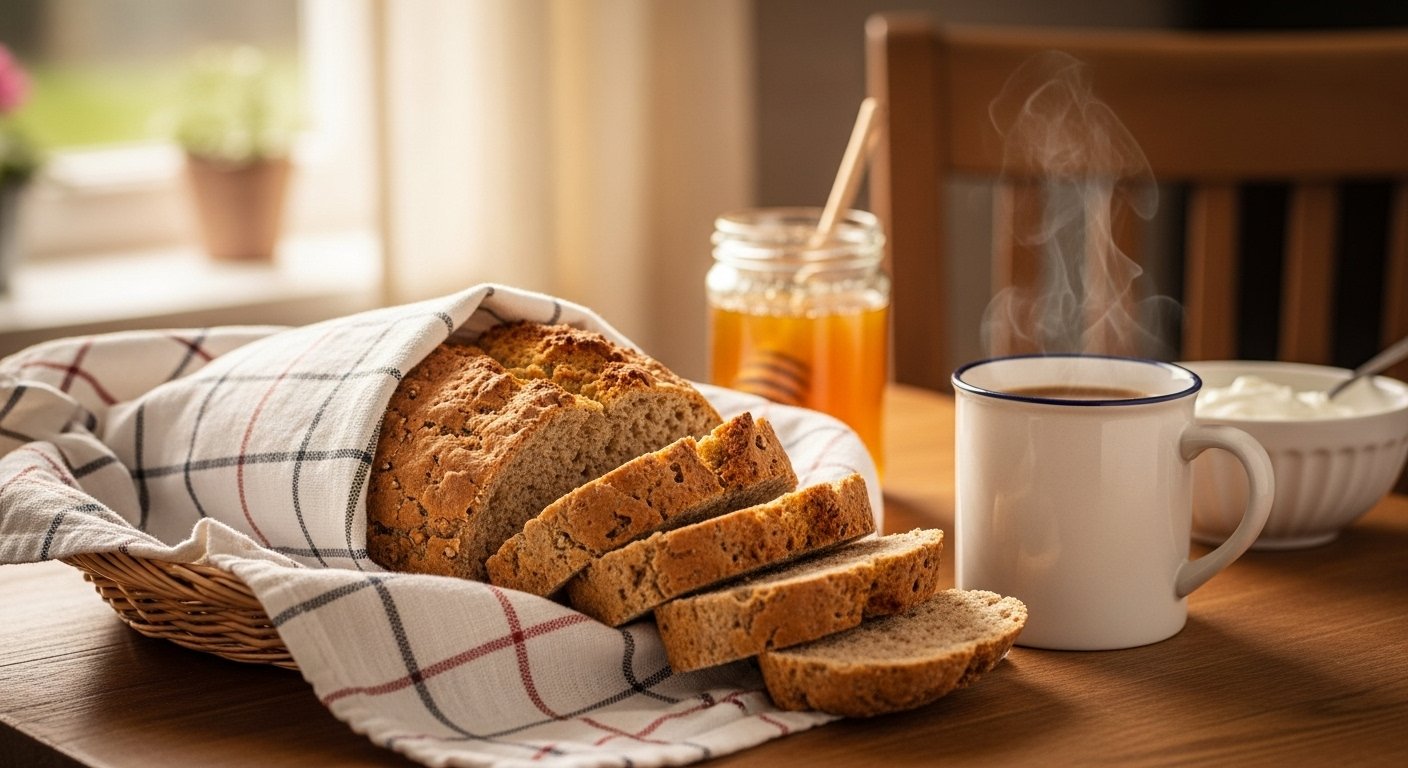
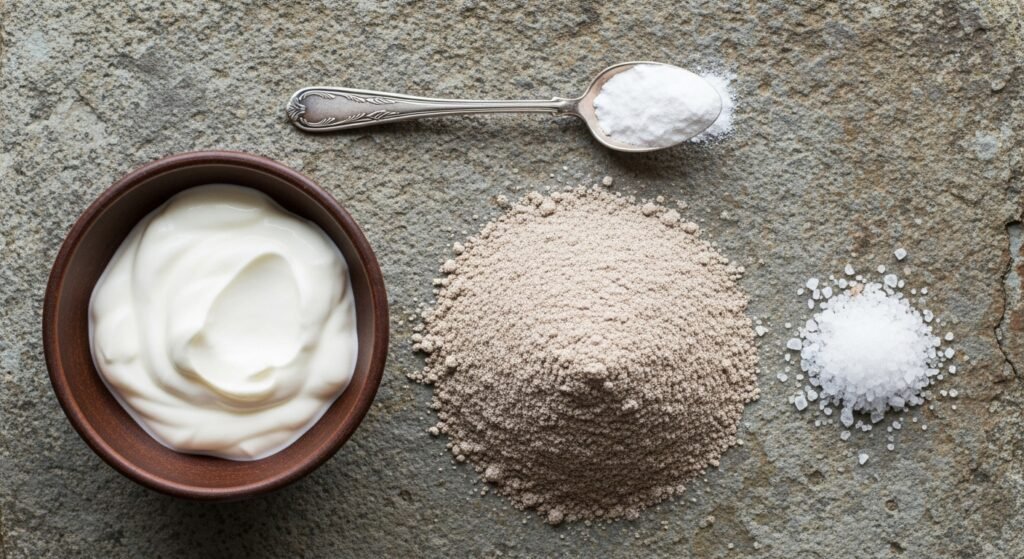
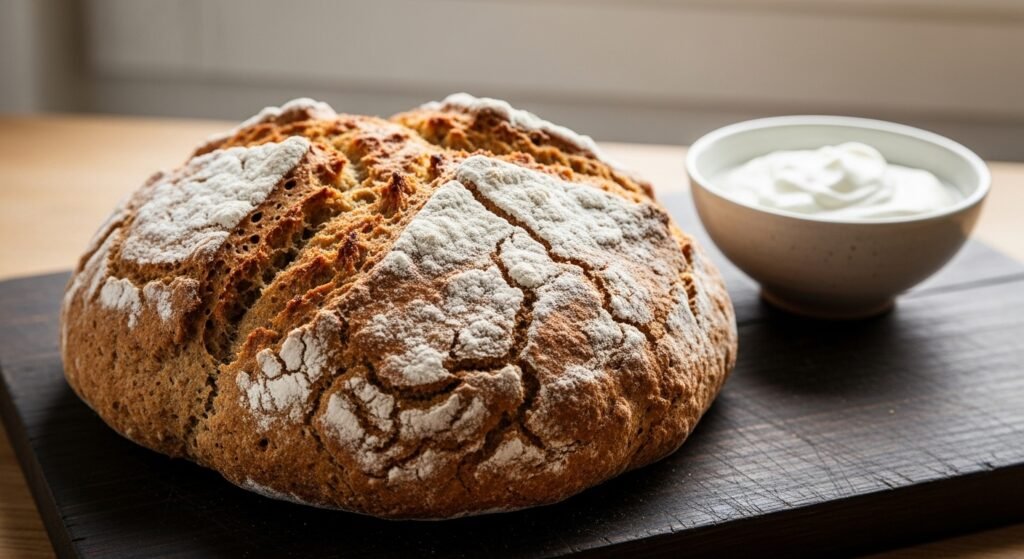
Taking a deep breath, I walked into my kitchen, the scent of simmering soup filling the air. I grabbed a bag of buckwheat flour, a tub of yogurt, and a little baking soda. Forty-five minutes later, as we sat down to eat, I pulled a perfect, steaming, beautifully cracked loaf of buckwheat soda bread from the oven. The sound of the knife crunching through the crust, the nutty aroma that filled the room—it was magic. My in-laws were amazed. I just smiled. It was my secret weapon.
I know what you might be thinking. Baking is complicated. It takes hours. And gluten-free bread? It’s usually a dense, sad brick that tastes like cardboard. You’re busy. You don’t have time for failure. I’m here to tell you that all of those fears are about to disappear.
By the time you finish reading this, you will have more than just a recipe. You will have a foolproof method for making incredible, healthy, and delicious bread in under an hour. You will understand the simple science that makes it work, giving you the power to bake it perfectly every single time. You will discover the best brands to use, my personal tips for customizing it, and a complete first-aid kit for any problem you might encounter. This isn’t just another recipe page. This is your new bread-baking reality.
The Simple Science Behind Your Perfect Loaf (Explained for Humans)
Before we bake, I want to let you in on a few secrets. Understanding why this recipe works is the key to never failing. It’s not complicated, I promise. It’s actually simple kitchen magic.
Why Isn’t This Bread a Brick? The Magic of Bubbles
Have you ever wondered what makes bread light and fluffy? It’s all about bubbles. In regular bread, yeast slowly eats sugar and creates bubbles of gas over hours. Soda bread, however, is a “quick bread.” It makes its bubbles in a flash using a simple chemical reaction.
Here’s how it works: baking soda is a “base.” Yogurt is an “acid.” When you mix them together in the dough, they instantly react and create millions of tiny bubbles of a gas called carbon dioxide. Think of it like millions of tiny balloons inflating inside your dough. These balloons push the dough up, making it light and airy.
This super-fast reaction is our greatest advantage. It means we don’t have to wait for the dough to rise. But it also means we have to be quick! Once you mix the wet and dry ingredients, the bubble-making starts. If you wait too long to get the loaf into the hot oven, those little balloons will pop, and your bread will be dense. Getting the dough into the oven quickly is the number one rule for a light, beautiful loaf.
What’s the Big Deal with Buckwheat Flour Anyway?
First, let’s clear something up. Despite its name, buckwheat is not a type of wheat. It’s not even a grain! It’s a seed from a plant related to rhubarb, which means it is naturally gluten-free. It has a fascinating history, first grown in Asia thousands of years ago before traveling the world.
What makes it so special for baking is its flavor. Buckwheat has a wonderfully robust, nutty, and earthy taste that makes everything more interesting. It’s also a nutritional powerhouse. It’s packed with high-quality protein, lots of fiber to keep your gut happy, and important minerals like magnesium and iron. This isn’t just empty bread; it’s bread that’s genuinely good for you.
The Most Important Choice: Light vs. Dark Buckwheat Flour
Here’s what nobody tells you. When you go to the store, you might see two types of buckwheat flour: light and dark. The one you choose will completely change the taste of your bread. Dark buckwheat flour is made from seeds that still have their black hulls, giving it a very strong, sometimes bitter flavor and a slightly gritty texture. Light buckwheat flour is made from hulled seeds and is much milder, softer, and gentler in flavor.
Personal Case Study 1: My “Rustic” Mistake I’ll never forget the first time I made this bread. I proudly bought a bag of stone-ground dark buckwheat flour, thinking it was more “authentic.” The loaf looked beautiful, but the flavor was… intense. My family politely called it “rustic,” but I knew the truth: it tasted like a healthy field. The next time, I used a light buckwheat flour. The difference was stunning. It had all the wonderful nutty goodness I wanted, but without any of the overpowering bitterness. For this recipe, and for anyone new to buckwheat, I strongly recommend starting with light buckwheat flour.
Why Is Yogurt the Secret Weapon for This Bread?
Yogurt is the true hero of this recipe. It does three incredibly important jobs all at once.
- It Provides the Acid: As we learned, yogurt’s natural acidity is what reacts with the baking soda to create all those lifting bubbles.
- It Adds Amazing Moisture: Buckwheat flour can be thirsty. The yogurt gives the bread a wonderfully moist and tender texture, preventing it from becoming dry and crumbly.
- It Balances the Flavor: The slight tang from the yogurt cuts through the earthy flavor of the buckwheat, creating a perfectly balanced and delicious taste.
Greek Yogurt vs. Regular Yogurt: A Baker’s Showdown
You can use either Greek or regular plain yogurt, but your choice will affect the final texture. This is a detail that can make a big difference in the final loaf. The moisture content of your yogurt is a primary control for the bread’s texture and how long it stays fresh. A thicker, fattier yogurt will create a richer loaf that stays moist for longer.
Here is a simple guide to help you choose the right one for your bread.
| Yogurt Type | Key Characteristic | Best For… | My Personal Take |
| Greek Yogurt (Full-Fat) | Thick, creamy, concentrated flavor | A richer, moister, more “cake-like” loaf. My top choice. | This is the gold standard. I use brands like Fage Total 5% Milkfat or Stonyfield Organic Whole Milk Greek for the best results. The extra fat is your friend here. |
| Regular Yogurt (Full-Fat) | Thinner, more liquid | A slightly lighter loaf. Works well, but may require slightly less liquid overall. | A great option if it’s what you have. Just be prepared for a slightly stickier dough. |
| Low-Fat/Non-Fat Yogurt | Lacks richness | When you absolutely must, but the final bread will be less tender and moist. | I strongly advise against this. The fat is crucial for texture and flavor. Using non-fat is a common mistake that leads to a dry, crumbly loaf. |
My Master Recipe (Perfected After 17 Failed Loaves)
I have tweaked and tested this recipe more times than I can count. I’ve made dense loaves, crumbly loaves, and even one that exploded (more on that later). This is the version that has never, ever failed me. It is simple, reliable, and absolutely delicious.
Your Shopping List: The Exact Tools and Brands I Swear By
You don’t need any fancy equipment. A big mixing bowl, a spatula, and a baking sheet are all you really need. However, I highly recommend using a digital kitchen scale. Measuring flour by weight instead of cups is far more accurate and is the secret to getting consistent results every time, especially with gluten-free baking.
An Honest Review of Buckwheat Flour Brands
The flour you use matters. Here are my thoughts on some popular brands I’ve used myself.
- Bob’s Red Mill Organic Light Buckwheat Flour: This is my go-to. It’s reliable, easy to find in most stores, and has a consistent, mild flavor that is perfect for this bread. The reviews are consistently positive for a reason.
- King Arthur Organic Buckwheat Flour: This is a premium choice. The flour is very finely milled, which creates a slightly more delicate and tender crumb. If you want to elevate your loaf, this is an excellent option.
- Doves Farm Organic Wholemeal Buckwheat Flour: This is a popular brand in the UK. Their flour is stoneground and darker, which means it has a much stronger, earthier flavor. Use this one only if you know you love a very robust buckwheat taste.
- Anthony’s Organic Buckwheat Flour: A fantastic USA-grown option. I find its flavor to be very clean and mild. It’s a great choice for bakers who are trying buckwheat for the first time and don’t want an overpowering taste.
The Step-by-Step Guide to a Perfect Loaf in 45 Minutes
This recipe moves fast, so read through the steps once before you begin. Remember our rule: once the wet and dry ingredients meet, the clock is ticking!
Yields: 1 round loaf Prep time: 10 minutes Bake time: 30-35 minutes
Ingredients:
- 2 cups (270g) light buckwheat flour
- 1 teaspoon baking soda
- 1 teaspoon salt
- 2 large eggs
- ¾ cup (180g) full-fat plain Greek yogurt
- 2 tablespoons honey or maple syrup (optional, for a hint of sweetness)
Instructions:
- Prep Your Oven and Pan. Preheat your oven to 400°F (200°C). This is not a suggestion. The heat needs to hit the dough immediately to capture the bubbles. Line a baking sheet with parchment paper.
- Whisk the Dry Stuff. In a large bowl, add the buckwheat flour, baking soda, and salt. Use a whisk to mix them together for a full 30 seconds. Confession: I used to just stir this with a spoon. One time, I got a bite of pure, soapy baking soda. It was awful. Whisking properly makes sure the baking soda is evenly spread out so every part of your bread rises perfectly.
- Mix the Wet Stuff. In a separate, smaller bowl, whisk the eggs, Greek yogurt, and optional honey until smooth.
- Combine… Gently! Pour the wet ingredients into the dry ingredients. Use a spatula to mix just until you don’t see any more dry flour. The dough will be very sticky and shaggy. It will not look like pretty bread dough. This is correct! Stop mixing. Over-mixing will make your bread tough.
- Shape and Score. Lightly flour your hands and a clean countertop. Scrape the sticky dough out of the bowl. Gently and quickly, form it into a round ball, about 6 inches across. Don’t knead it! Just shape it. Place the ball on your prepared baking sheet.
The One Step You Absolutely Cannot Skip (That Everyone Does)
Now for the most important part. Take a sharp knife and cut a deep “X” across the top of the dough. I mean deep—it should go down at least an inch, almost to the bottom of the loaf.
Personal Case Study 2: The Bread Volcano The first time I made this bread, I was afraid to cut it too deeply. I gave it a dainty little slash on top. I put it in the oven, feeling proud. Ten minutes later, I looked through the oven door and saw that the side of my loaf had blown out like a volcano. Steam had built up inside with nowhere to go. The bread was still edible, but it was lopsided and ugly. The deep cross isn’t just for looks; it’s a planned escape route for the steam. It allows the center of the bread to cook evenly and rise beautifully. Don’t be timid!
- Bake to Perfection. Place the baking sheet in the center of your hot oven. Bake for 30-35 minutes. You will know it is done when the loaf is a deep golden brown and sounds hollow when you tap it on the bottom with your knuckle. Transfer the loaf to a wire rack to cool.
Your Soda Bread First-Aid Kit: Troubleshooting and Customizing
Sometimes, things go wrong in the kitchen. It’s okay. It happens to everyone. The good news is that with this bread, every problem has a simple solution. Here is your complete guide to diagnosing and fixing any issue.
What to Do When It All Goes Wrong (And How to Fix It)
Think of this chart as your emergency room for bread. Find your problem and follow the simple fix.
| Your Problem: “My Bread Is…” | Likely Cause(s) | My Foolproof Fix (And Why It Works) |
| Dense & Heavy | 1. You over-mixed the dough. 2. Your baking soda is old. 3. The dough sat too long before baking. | 1. Mix only until the flour disappears. You worked all the bubbles out! 2. Test your soda: A teaspoon in vinegar should fizz violently. If not, buy a new box. 3. Work quickly! Get the loaf into the preheated oven right away. |
| Gummy or Wet Inside | 1. You sliced it while it was still hot. 2. It’s under-baked. | 1. This is the #1 sin of soda bread! Let it cool completely on a wire rack for at least 2 hours. The steam inside is still cooking the bread. Cutting it early stops this process and makes it gummy. 2. Use an instant-read thermometer. The inside should be 190-200°F (88-93°C). |
| Dry & Crumbly | 1. You used low-fat or non-fat yogurt. 2. Your measurements were slightly off. | 1. Always use full-fat yogurt. The fat is essential for a tender texture. 2. The egg is your insurance policy. The original recipe includes eggs, which add fat, moisture, and protein for structure, preventing a crumbly loaf. |
| Soapy or Bitter | You used too much baking soda, or it wasn’t mixed in properly. | 1. Measure your baking soda precisely with a measuring spoon. 2. Whisk your dry ingredients thoroughly for at least 30 seconds to distribute the soda evenly. No one wants a soapy surprise. |
Ready to Play? Three Easy Variations to Make This Recipe Your Own
Once you’ve mastered the basic loaf, it’s time to have some fun. This recipe is a wonderful canvas for other flavors.
The “Morning Glory” Loaf (Sweet)
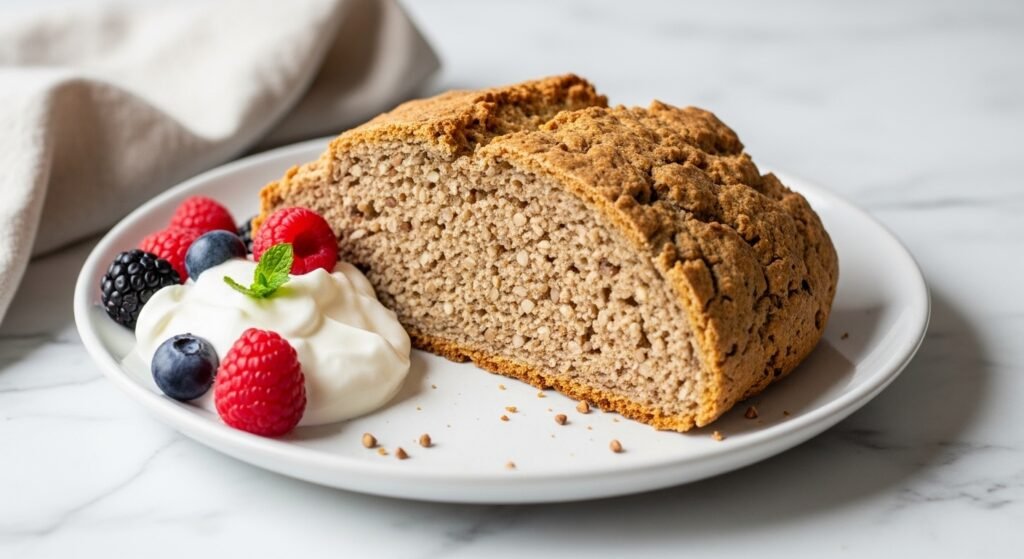
Perfect for breakfast toast or with a cup of tea.
- How to do it: Add ½ cup of dried cranberries or raisins and 1 teaspoon of cinnamon to your dry ingredients in Step 2. Use honey or maple syrup in the wet ingredients.
The “Savory Herb” Loaf (Savory)
Amazing with soups, stews, or as a side for a cheese board.
- How to do it: Add ¼ cup of toasted pumpkin or sunflower seeds and 1 tablespoon of fresh, chopped rosemary or thyme to your dry ingredients in Step 2.
The “Completely Dairy-Free” Loaf (Vegan)
Yes, you can easily make this bread vegan!
- How to do it: Instead of eggs, use a “flax egg” (1 tablespoon ground flaxseed mixed with 3 tablespoons water; let it sit for 5 minutes). Use a thick, unsweetened plant-based yogurt, like coconut or soy yogurt. Add 1 tablespoon of apple cider vinegar to the wet ingredients to make sure you have enough acid for a good rise.
The Surprising Story of Your Loaf of Bread
When you pull this loaf from your oven, you’re holding more than just bread. You are holding a piece of history. This simple recipe is a delicious collision of ancient food traditions from around the world.
- The Soda Bread Tradition: The idea for soda bread came from Ireland in the 1830s. It was a food born of necessity, using simple, cheap ingredients that every family had. But the very first people to use a chemical leavener were Native Americans, who used wood ash to make their bread rise.
- The Buckwheat Journey: Buckwheat began its journey thousands of years ago in Asia. This tough, hardy plant could grow in difficult soil, and it slowly spread across the globe, becoming a staple food in many cultures, from Japanese soba noodles to Eastern European porridge.
- The Yogurt Story: Yogurt was likely discovered by accident over 10,000 years ago by nomadic herdsmen in the Middle East. They carried milk in pouches made from animal stomachs, and the natural enzymes and heat turned the milk into a thick, tangy food that lasted much longer.
So, the loaf on your counter is a product of Irish ingenuity, Asian agriculture, and Middle Eastern preservation. Baking this bread connects you to a long, rich history of people finding clever ways to make delicious food from simple ingredients.
Your Top Questions, Answered by a Pro
Frequently Asked Questions from My Kitchen
Here are the answers to the questions I get asked most often.
Can I use baking powder instead of baking soda?
No, I don’t recommend it for this recipe. Baking soda is needed to react with the acid in the yogurt. Baking powder already has its own acid mixed in, which would throw off the chemistry and the flavor of the bread. Stick with baking soda for the best results.
My dough is incredibly sticky. Is that right?
Yes, absolutely! A sticky, wet dough is the secret to a moist soda bread. Don’t be tempted to add a lot of extra flour. Just flour your hands and your work surface enough so you can shape the dough into a ball.
Can I make this 100% gluten-free?
Yes, this recipe is naturally gluten-free because buckwheat flour does not contain gluten. If you have celiac disease, just make sure your brand of buckwheat flour is certified gluten-free to avoid any cross-contamination from facilities that also process wheat.
How do I store my buckwheat soda bread?
Let the loaf cool completely on a wire rack. This is very important! Once cool, store it in an airtight container or a sealed bag at room temperature. It is best eaten within two days. After that, I recommend slicing it and freezing it. It toasts beautifully right from the freezer.
Can I use a different flour instead of buckwheat?
You can, but it would become a completely different recipe. This guide is specifically designed for the unique properties of buckwheat flour. Other flours, like whole wheat or spelt, absorb liquid differently and would require changing the recipe.
Does this bread need to rise before baking?
No. That is the magic of a “quick bread.” The rising action happens instantly from the chemical reaction. It needs to go into a hot oven right after you mix it. There is no waiting, proving, or rising time needed.
Conclusion: Welcome to Your New Bread-Baking Reality
You made it. You now have everything you need to bake a perfect loaf of buckwheat soda bread with yogurt. Remember the three secrets: a gentle hand when mixing, a hot oven waiting for your dough, and the patience to let it cool completely before you slice it.
Think back to my story of the unexpected guests. That feeling of panic is gone. Now, you are the one who can confidently walk into the kitchen and whip up a warm, delicious, and healthy loaf of bread in under an hour. You are the baking hero.
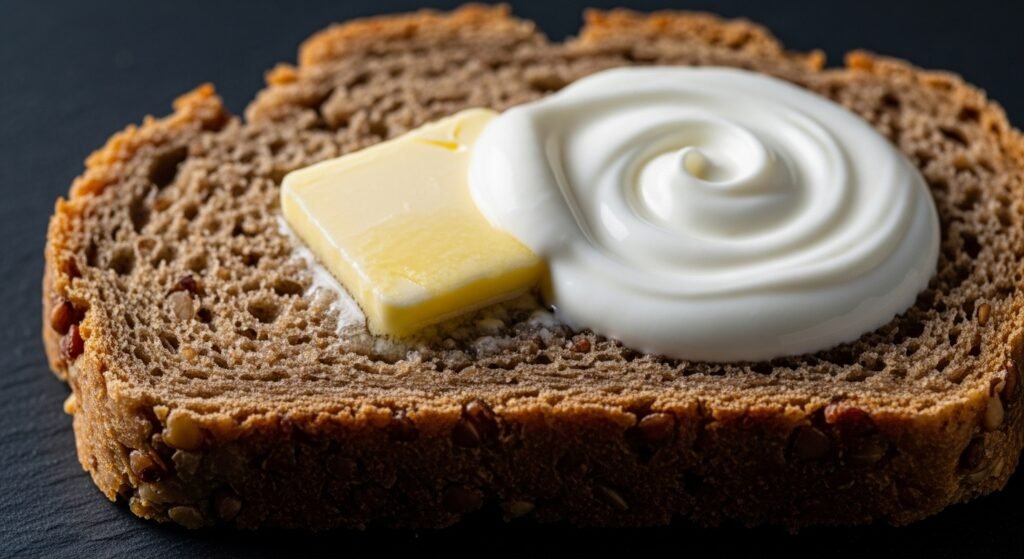
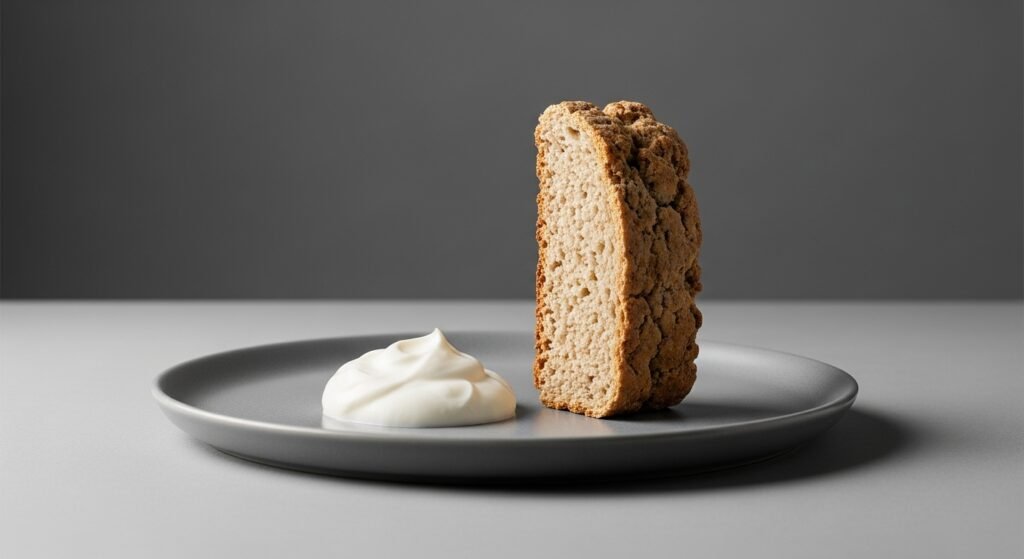
My favorite way to enjoy this bread is simple: a thick slice, toasted until the edges are crispy, with a generous layer of good butter and a sprinkle of flaky sea salt. It’s pure comfort.
I’ve shared my secrets and my favorite variations, but the journey doesn’t end here. The best part about baking is making a recipe your own. So, I have one last question for you: What will you add to your first loaf?
Let me know in the comments below. I can’t wait to see what you create.